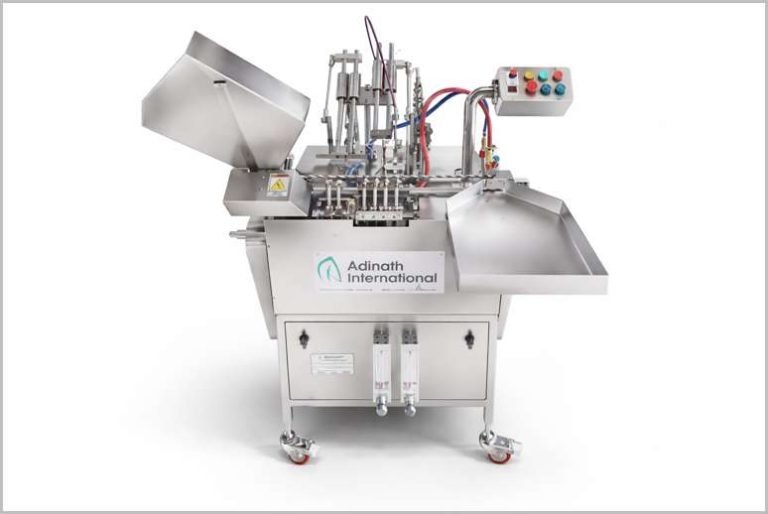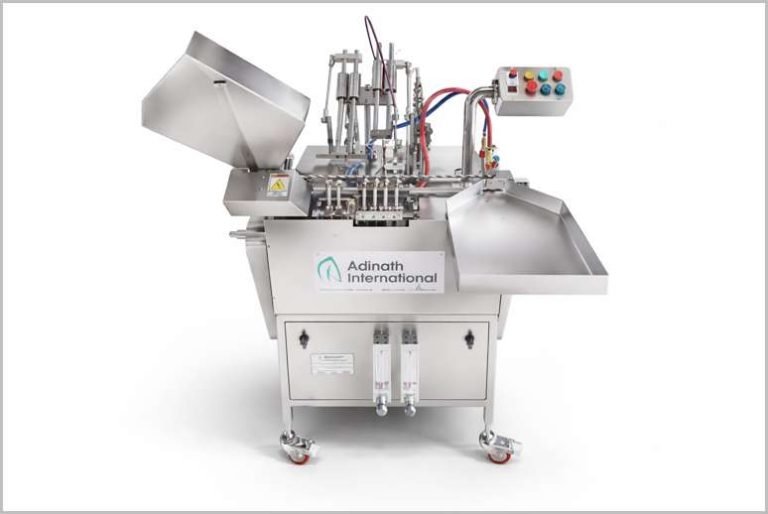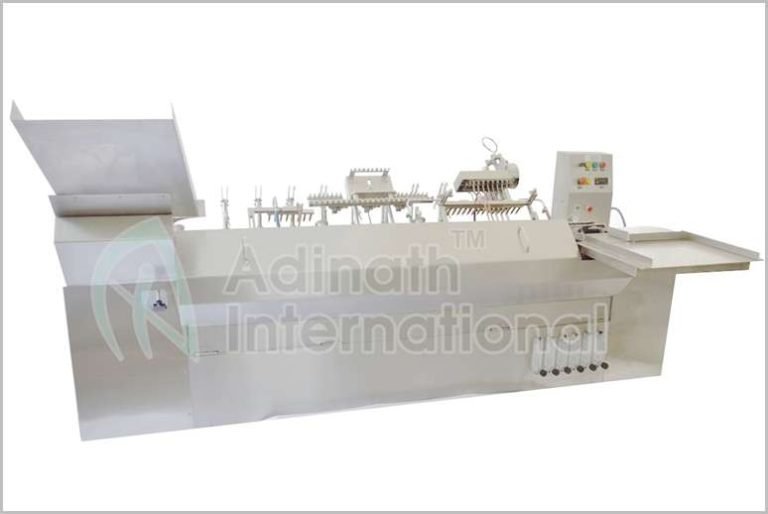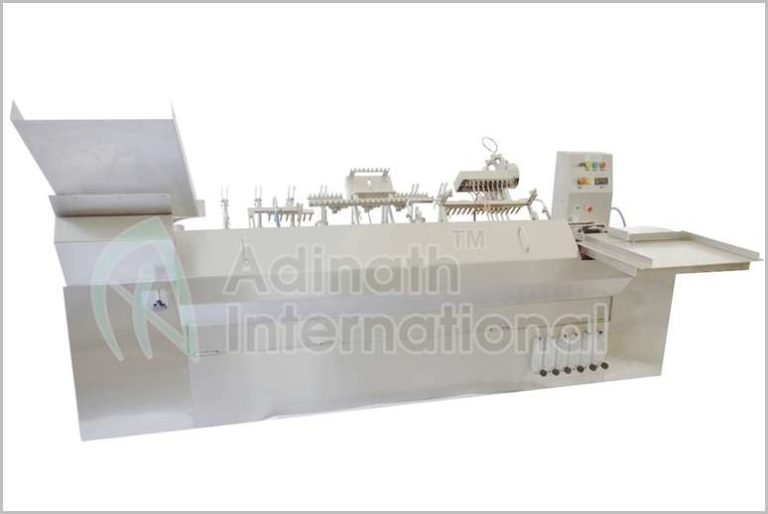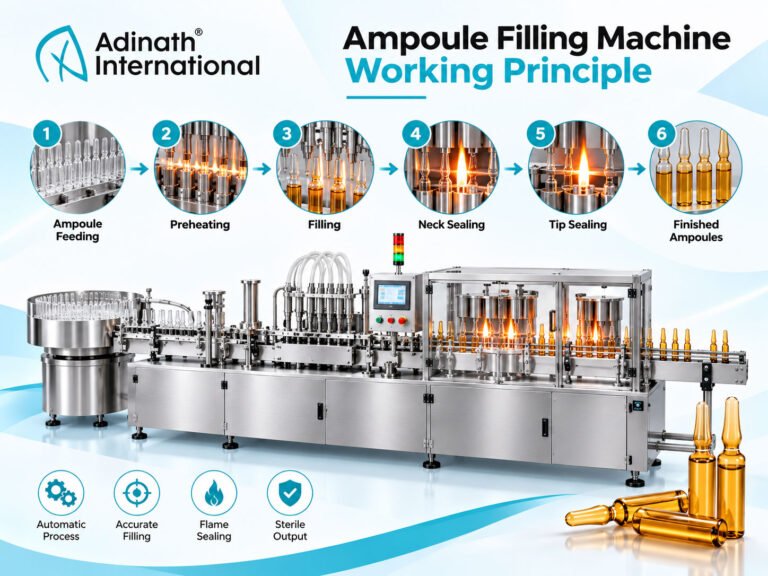
Even a well-built ampoule filler-sealer develops faults: fill weights start to drift, a needle begins to drip, seals come out thin or bubbled, or ampoules break in the transport. Most of these problems have a small number of causes, and a structured approach finds them faster than trial and error. This ampoule filling machine troubleshooting guide groups the most common symptoms, explains what usually causes them and lists what to check.
It is written for operators, maintenance technicians and production supervisors. The guidance is general and applies to most linear filler-sealers; for model-specific settings, always use the machine manual. If you are reviewing equipment as part of a line upgrade, you can also look at the ampoule filling machines we manufacture.
How to use this guide safely
Ampoule filling machine troubleshooting means working close to moving mechanisms, broken glass, open flames and pressurised gases. Before you start:
- Stop the machine and isolate power and gas supplies as the manual and your site lock-out procedure require before reaching into any station.
- Remove broken glass with suitable tools and protective gloves, never by hand while the machine can move.
- Let burners and sealed ampoules cool before handling parts near the sealing station.
- Leave electrical, gas-line and drive repairs to authorised, trained staff.
- Record every adjustment and part change, and follow your deviation procedure if product quality may have been affected.
A systematic approach to ampoule filling machine troubleshooting
Before adjusting anything, describe the problem precisely. Which heads are affected: one, several or all? When did it start: at start-up, after a set number of hours, after a size change or with a new batch of glass or product? Is it constant or intermittent? A fault on one head usually points to a part on that head, while a fault on every head points to something shared, such as the product supply, the gas supply, the drive or the ampoules themselves.
Next, check what changed recently: change parts, settings, operators, consumables or materials. Then change one thing at a time and check the result before changing the next. Several simultaneous adjustments make it impossible to know which one solved the problem, and may create a new one. It also helps to know which part does what and how the stations work together in one machine cycle.
Fill volume variation
Ampoule fill volume variation shows up in weight checks as low fills, high fills, a gradual drift or one head that differs from the others. The pattern is the best clue.
| Symptom | Likely cause | What to check |
|---|---|---|
| All heads low after start-up | Air in syringes or tubing | Priming; bubbles in glass syringes; tubing connections |
| One head consistently low | Leaking valve, worn syringe or loose connection on that head | Valve seating and seals; plunger fit; tubing |
| Random variation on all heads | Unstable product supply or air ingress | Supply vessel level, feed line, suction-side leaks |
| Gradual drift during the run | Loosening stroke adjustment or changing product temperature | Adjustment locks; product temperature; viscosity |
| Fills high on one head | Fine adjustment set incorrectly | Head adjustment and records |
| Liquid visible above plunger | Worn plunger or barrel | Replace syringe set |
Most dosing problems sit on the suction side. If the inlet valve or a connection leaks, the syringe draws air instead of liquid and delivers less. Glass syringes help here, because bubbles are visible. After any repair, re-prime and re-verify every head by weight before production continues, following the priming and fill verification steps in the machine manual.
Dripping or splashing at the needle
A drop left on the needle tip after filling falls on the ampoule neck, where it causes problems at the sealing station. Splashing during filling has a similar effect.
| Symptom | Likely cause | What to check |
|---|---|---|
| Drop hanging after needle withdraws | Outlet valve not closing sharply; end of stroke too slow | Outlet valve condition; stroke end timing |
| Liquid on the neck | Needle off-centre or bent; drip at withdrawal | Needle straightness and centring; carriage timing |
| Splashing or foaming | Delivery too fast for the liquid; needle too high | Machine speed; needle depth; product properties |
| Liquid flows before needle enters | Timing between carriage and syringe out of step | Cam timing (maintenance staff) |
Needle centring is easiest to check slowly, in inching mode where available, with ampoules in place. A needle that touches the neck even lightly will wet it. Needle size and tip condition also matter, so replace needles that are bent or damaged rather than straightening them.
Open, thin or bubbled seals
Ampoule sealing problems are often blamed on the burners, but many start at the filling station. Work through three areas in order: the neck, the flame and the mechanism.
The neck
Liquid on the neck boils and chars in the flame. This is the usual cause of bubbles, black specks and burnt ampoule tips. Fix drips and splashing first, then re-check the seals.
The flame
An open seal or a fine opening at the tip usually means too little heat at the right point: too small a flame, the wrong gas-to-oxygen mixture, a burner set too high or low, or a speed increase that shortens time in the flame. A heavy, ball-shaped tip means too much heat. Soot means too little oxygen. Partly blocked burner nozzles distort the flame and give uneven seals across heads.
The mechanism
Lopsided or twisted seals point to uneven rotation (worn or slipping rollers) or a tilted ampoule (worn transport parts). On pull-seal machines, tails, hooks or thin, sharp tips usually mean jaws that are worn, misaligned or mistimed. On a combined filling and sealing machine, rollers and jaws are driven from the same cycle as filling, so a timing fault can affect both stations.
| Symptom | Likely cause | What to check |
|---|---|---|
| Open or leaking seal | Insufficient heat or dwell | Flame size, mixture, burner position, speed |
| Bubbles or black specks | Liquid on the neck | Needle drips, centring, splashing |
| Thin or fragile tip | Over-pulling or overheating | Jaw timing, flame size |
| Uneven seals between heads | Blocked or misaligned burner | Burner nozzles, burner alignment |
| Soot on the neck | Too little oxygen | Gas mixture, burner cleanliness |
| No. | Seal condition | What it usually indicates |
|---|---|---|
| 1 | Good seal | Even, closed and symmetrical; correct flame and timing |
| 2 | Open tip | Too little heat or dwell time |
| 3 | Heavy bead | Too much heat |
| 4 | Bubbled or charred tip | Liquid on the neck before sealing |
| 5 | Off-centre seal | Uneven rotation or tilted ampoule |
| 6 | Tail or hook | Jaw timing or condition on pull-seal machines |
After any flame or jaw change, inspect a run of ampoules before continuing, and use your site’s leak test to confirm integrity if seals were doubtful. Post-sealing inspection equipment helps catch defects that slip past in-process checks.
Ampoule breakage and jams
Ampoule breakage costs product and leaves glass on the machine, so find the cause quickly.
| Symptom | Likely cause | What to check |
|---|---|---|
| Breakage at the infeed | Hopper overfilled; ampoules jammed against each other | Hopper loading; star wheel or receiving rack alignment |
| Breakage in the transport | Wrong or worn change parts; misaligned racks | Change parts match the ampoule size; rack timing |
| Needles strike ampoules | Needle off-centre or ampoule tilted | Needle centring; guides; ampoule dimensions |
| Cracks near the seal | Thermal shock | Pre-heating flame; contact with cold parts at outfeed |
| Frequent jams with a new batch of glass | Ampoule dimensions out of tolerance | Measure ampoules against the supplier drawing |
| Ampoules sticking together | Wet or dirty ampoules from upstream | Drying and transfer after washing and sterilising |
Glass quality and condition from upstream are a common hidden cause. If breakage rises after a change of glass batch or a washer adjustment, look upstream as well, at the ampoule washing, drying and sterilising stages.
Gas flushing issues
Inert gas flushing problems are less visible than seal defects but can matter just as much for oxygen-sensitive products. Typical signs are low or unstable flow meter readings, ampoules rocking at the gas stations, or residual oxygen results outside limits where headspace oxygen is measured. Because a purge fault cannot be seen on the ampoule, gas flow readings should be part of every in-process check, and any change in supply, such as a new gas cylinder or a pressure drop in the site network, should prompt a re-check of the flow meters.
| Symptom | Likely cause | What to check |
|---|---|---|
| Low or no flow | Supply pressure low; filter blocked; valve not opening | Supply, regulator, filter, valve operation |
| Ampoules disturbed or lifted | Flow set too high | Flow meter setting |
| Poor purge on one head | Blocked or bent nozzle | Nozzle condition and centring |
| Flame disturbed at sealing | Gas flow interacting with burners | Post-gassing flow and timing |
Preventive maintenance checklist
Many of the faults above are prevented by routine care. The checklist below lists typical items; intervals and methods come from the manual and your maintenance system.
| Area | Typical task |
|---|---|
| Syringes and valves | Inspect for wear and leakage; replace as sets |
| Product tubing | Replace when hardened, discoloured or damaged |
| Needles and gas nozzles | Check straightness, tips and centring |
| Burners | Clean nozzles; check alignment and flame shape |
| Rollers and jaws | Check wear, alignment and timing |
| Transport and change parts | Check wear and fit; store sets clean and labelled |
| Gas system | Check filters, regulators and hoses as the manual and site procedures require |
| Drive | Lubricate; check belts, bearings and cam followers |
Machines with more heads, such as the Eight Head Ampoule Filling Machine, multiply these items, so a written checklist per head saves time. Faster high-speed filling and sealing models leave less margin for worn parts, so follow the inspection intervals given in the machine manual and shorten them if wear shows up earlier on your line.
When to call for support
Call the manufacturer or your maintenance team when a fault returns after the checks above, when timing between stations appears to have shifted, or when the problem involves the drive, electrical controls or the gas installation. Have the model, serial number, ampoule size and a description of the symptom ready. Spares and change parts for ampoule filling machine models are best ordered against that serial number.
Conclusion
Effective ampoule filling machine troubleshooting follows the symptom back to its source: air and valve leaks for fill variation, needle centring and valve closure for drips, a wet neck or wrong flame for poor seals, worn or wrong change parts for breakage, and filters and nozzles for gas problems. Work safely, change one thing at a time, and use preventive maintenance to stop faults returning.
If a problem persists or you are considering an upgrade, our team can help. Send us an enquiry about an ampoule filling machine with your model, ampoule size and a description of the fault.
 Summarize this article with: