Tablet compression is the step where a released granule becomes a finished tablet with the right weight, thickness, hardness and appearance. The machine does the compressing, but the quality of the result depends just as much on how the press is prepared, set up, checked and cleaned. A well-run tablet compression process follows the same sequence every time, so that each batch can be repeated and every adjustment is recorded.
This guide walks through the tablet compression process step by step, from line clearance before the batch to cleaning after it. It is written for production supervisors, operators and engineers on tablet lines. The exact values for your product always come from the batch record and site procedures; this article explains what each step is for and what to watch. To compare press types, you can browse all tablet press machines.
The tablet compression process at a glance
The eight steps below cover a typical batch on a rotary press. Some sites combine or split steps, but the order is broadly the same.
Step 1: Preparation and line clearance
Line clearance is a documented check that the compression room and press hold nothing from the previous product or batch. It prevents mix-ups, which are one of the most serious risks in solid dose manufacturing. A typical clearance confirms that:
- no tablets, granules, labels or documents from the previous batch remain in the room, on the press or in the deduster and chutes;
- the press and change parts carry a “cleaned” status label within its permitted hold time;
- the room conditions, such as temperature, humidity and pressure differential, are within the site limits;
- balances, hardness testers and thickness gauges are calibrated and their daily checks are done.
The operator then collects the batch documents, the released granule containers and the tooling set listed in the batch record. Granules are checked against the label for product name, batch number and quantity. Some products are sensitive to moisture, so the time the granules spend open in the room should be kept short.
Step 2: Fitting punches and dies
Tooling is issued from a controlled tooling store and checked before use. Each punch and die should be clean, free of chips and burrs, and correctly identified for the product. Embossed or shaped tooling should be compared with the approved tablet design.
Fitting sequence
- Isolate the press according to the site lock-out procedure before working inside the guards.
- Fit the dies into the die table pockets and tighten the die locking screws. Each die must be seated fully home and level with the die table surface, within the limit and by the method given in the press manual.
- Fit the upper punches into their guide bores, then the lower punches, keeping each punch with its matching die where tooling is numbered. Keyed punches must be aligned so shaped tips match the die.
- Turn the turret slowly by hand, using the method in the manual, to confirm that every punch moves freely through its full travel without touching the die edge.
- Fit the feed frame, scraper blade, take-off guide and discharge chute, and set their clearances to the die table as specified by the manual.
Light lubrication of punch barrels and seals is applied as the manual describes. Excess oil must be wiped away, because it can reach the die table and mark the tablets.
Step 3: Charging the granules
With the guards closed, granules are loaded into the hopper by hand or with a vacuum loader. The feed frame fills, and on a force-fed press the paddle speed is set as a starting point from the batch record. Before compressing, many operators run the turret at low speed with minimal compression so that every die receives material and the feed settles.
Step 4: Setting weight and thickness
Set-up is where the batch is won or lost. The aim is to reach the target tablet weight first, then the target thickness and hardness, and then confirm everything at production speed.
Setting tablet weight
Tablet weight depends on the volume of granules held in the die, which is set by the fill depth. Raising or lowering the fill cam changes how low the lower punch sits while the die is under the feed frame. The operator compresses a few tablets, weighs them individually and adjusts the fill depth until the average weight is close to target. Small adjustments are best, because the press needs a few revolutions to settle after each change.
Setting thickness and hardness
Once weight is close, thickness and hardness are set by moving the main compression roller, which changes how close the upper and lower punch tips come together. Bringing the tips closer makes a thinner, harder tablet. If the press has pre-compression, it is set to a level that helps release air before main compression; the starting value normally comes from development or the batch record.
Weight and hardness interact. Adding weight at the same roller setting increases hardness and thickness, so after any weight change the hardness should be checked again. When both are within limits at low speed, the press is brought up to the speed in the batch record and the checks are repeated, because die filling can change with speed.
| Adjustment | Main effect | Also affects |
|---|---|---|
| Fill depth (weight) | Tablet weight | Thickness, hardness |
| Main compression | Thickness and hardness | Disintegration, friability |
| Pre-compression | Air removal, bonding | Capping tendency |
| Turret speed | Output | Die filling, weight variation, capping |
| Force feeder speed | Die filling | Weight variation, granule breakdown |
The first tablets made during set-up are not part of the good yield. They are collected separately and handled as the batch record requires.
Step 5: Running and in-process checks
In-process checks on tablets confirm that the press is still making tablets within specification as the batch runs. The checks, their frequency and their limits come from the product specification and batch record. A typical set includes the following.
| Check | What it shows | Typical response if out of limit |
|---|---|---|
| Individual and average weight | Die fill consistency | Check feeding and fill depth; investigate before adjusting |
| Thickness | Compression setting and fill | Check weight first, then compression |
| Hardness (breaking force) | Tablet strength | Check weight and compression; review granule |
| Friability | Resistance to chipping and abrasion | Review hardness and pre-compression |
| Disintegration (where specified) | How quickly the tablet breaks up in the test | Review hardness; refer to quality team |
| Appearance | Capping, sticking, picking, chipping, specks | Stop and investigate the cause |
Results are recorded at each check, and many sites plot weight and hardness on a trend chart so that drift is seen before it reaches a limit. Any adjustment made during the run is recorded with the reason and the time. If tablet defects appear, the cause is usually traced to either the machine set-up or the granules, and both are checked before the run continues.
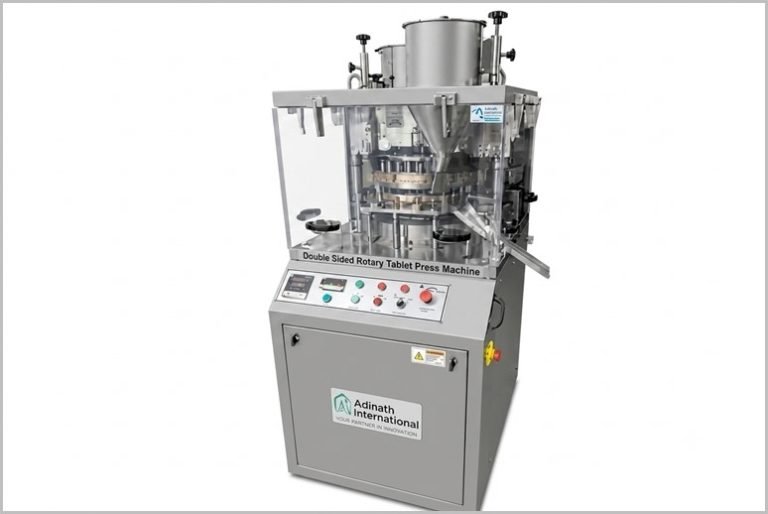
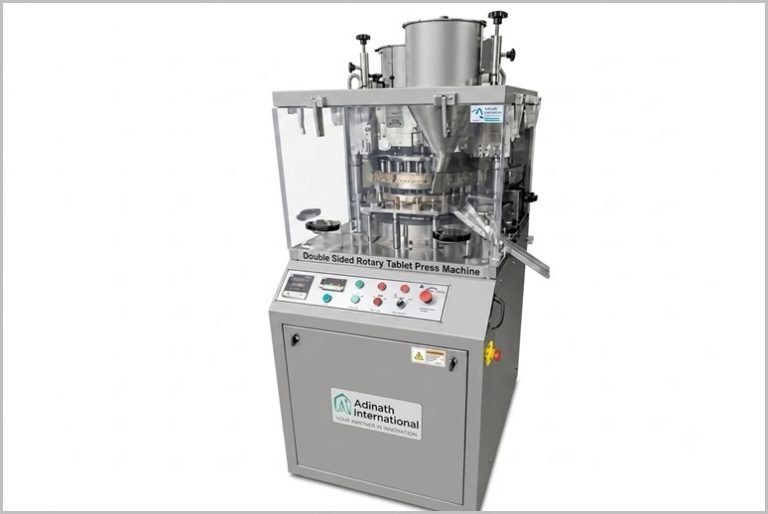
During the run, the operator also watches the hopper level, the feed frame and any build-up of powder on the die table. A steady supply of granules is one of the simplest ways to keep weight stable. Presses such as our Rotary Tablet Press Machine show the turret speed and tablet count on the control panel, which helps the operator track output against the batch plan.
Stops and restarts
Breaks, alarms and hopper changes all interrupt the run. After a stop, the first tablets can differ from those made at steady speed, because the feed frame and dies need a few revolutions to settle again. Many sites therefore repeat weight and hardness checks after every restart and record the reason for the stop. A stop for a guard alarm or overload should be investigated before restarting, not simply reset, as it may indicate a tight punch, an overfilled die or a foreign object in the turret.
Step 6: Dedusting and metal detection
Tablets leaving the press carry loose powder on their surfaces and edges. A tablet deduster removes this dust, usually by moving the tablets along a vibrating or rotating perforated path while dust is drawn away by extraction. Dedusting gives a cleaner tablet for coating or packing and reduces dust in later equipment.
Many lines also pass tablets through a metal detector after the deduster. It rejects any tablet containing a metal fragment, for example from damaged tooling or a worn part. The detector is challenged with test pieces at the start of the batch and at set intervals, as the site procedure requires, and every rejection is investigated. A rejection can point to tooling damage that needs to be found quickly.
Good tablets are collected in labelled, lined containers. Each container is weighed and labelled with product, batch number and container number for reconciliation later.
Step 7: End of batch and cleaning
When the granules run out, the last tablets from the feed frame may not fill the dies properly. These end-of-run tablets are separated and handled as the batch record requires. The batch is then reconciled: good tablets, rejects, set-up tablets, samples and remaining granule are accounted for against the quantity issued.
Dismantling and cleaning
With the press isolated, the feed frame, hopper, chutes and tooling are removed. Punches and dies are cleaned, dried, inspected for wear or damage and returned to the tooling store with their usage recorded. The turret, die table and guide bores are cleaned according to the cleaning procedure, which defines the method, agents and checks for the product.
Cleaning is followed by a visual inspection and, where required, swab or rinse sampling. The press is then labelled with its cleaning status and the cleaning log is completed. A clean, documented press is the starting point for the next line clearance.
Choosing a press for a smooth compression process
Many of the steps above are easier on a press designed for them. Adjustments that can be made from outside the guards, easy access to the turret, simple removal of the feed frame and good dust extraction all reduce set-up and cleaning time. The Pharmaceutical Tablet Press Machine range and our Tablet Compression Machine show the options available on different models.
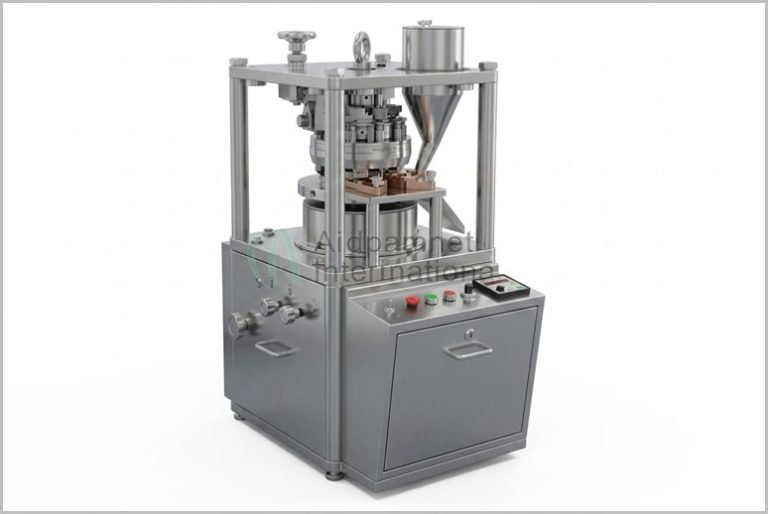
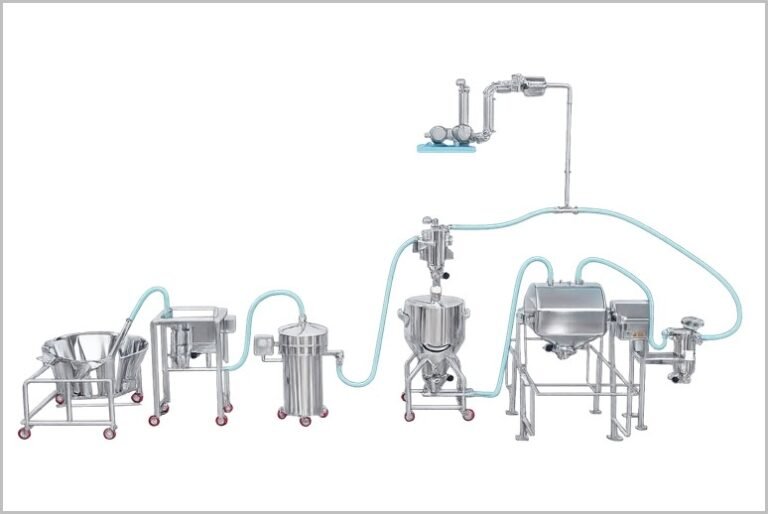
Development batches are often compressed on small presses first, so that weight, thickness and hardness targets are known before scale-up, such as R&D lab machines built for this stage. For full production, the press is planned together with granulation, coating and packing equipment, as in a complete tablet production line, where the machines are combined into one planned layout.
Conclusion
A reliable tablet compression process follows a fixed path: clear the line, fit and check the tooling, charge the granules, set weight before thickness and hardness, run with recorded in-process checks, dedust and metal-check the tablets, then reconcile, dismantle and clean. Most problems during a batch can be traced to one of these steps, which is why each one is documented.
If you are planning a new compression suite or upgrading an existing press, our team can help you match the press, tooling and accessories to your product. Send us an enquiry about a tablet press machine with your tablet size, shape and batch sizes.
 Summarize this article with: