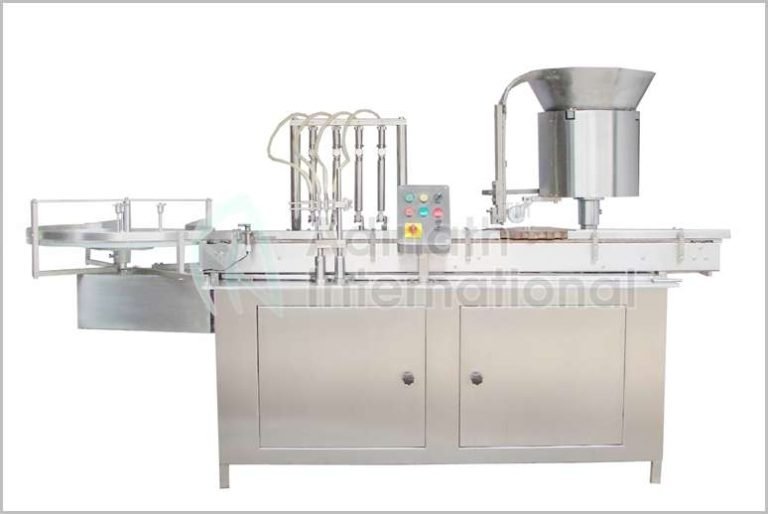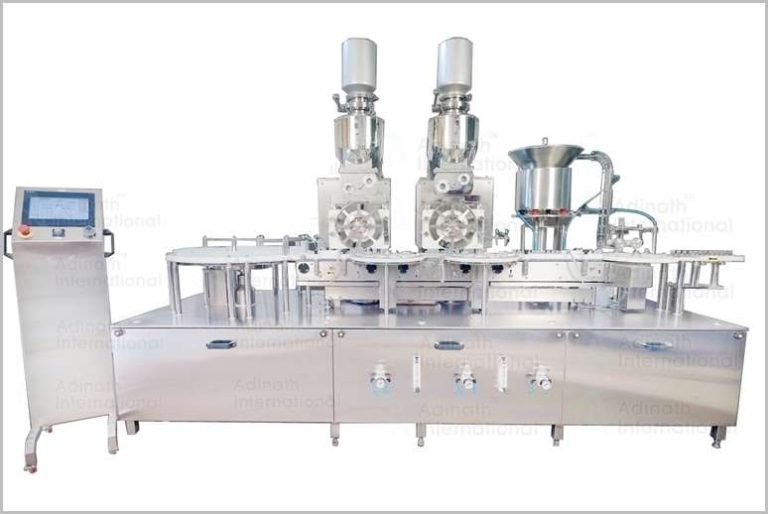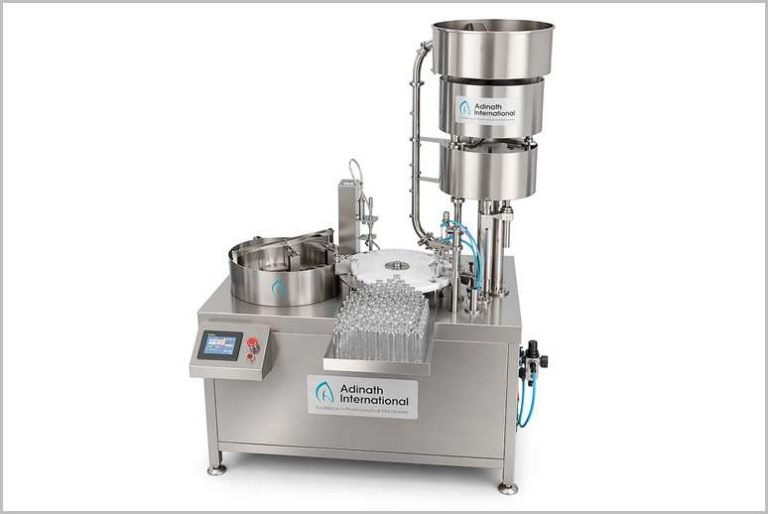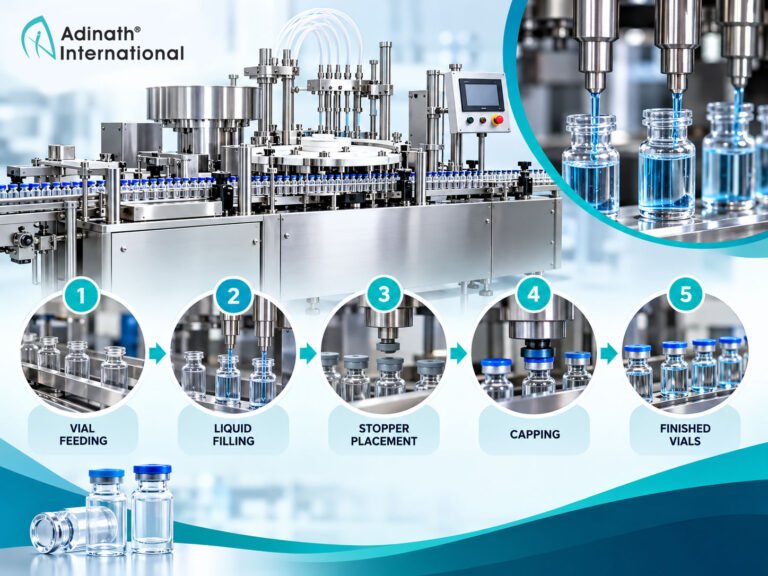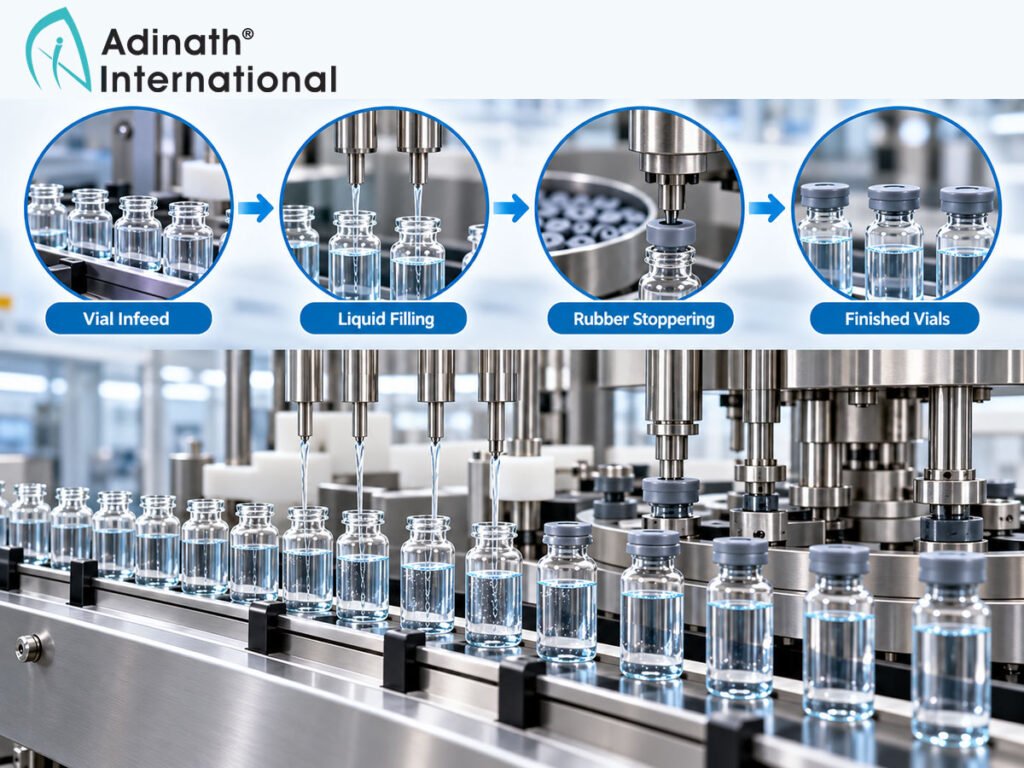
A vial filling machine only produces good vials if it is prepared, set up and run in the right order. Most problems on the line — wrong fill volumes, drips on the neck, missing or tilted stoppers, mixed-up components — can be traced back to a skipped or rushed step. A clear, repeatable routine is therefore as important as the machine itself.
This article explains the vial filling and stoppering process step by step, from line clearance and set-up to priming, fill weight verification, stopper feeding, in-process checks, end-of-batch cleaning and records. It describes good general practice for liquid vials; your own site SOP, the machine manual and your validated parameters always take priority. To see the machines involved, you can see our vial filling machines.
The vial filling and stoppering process at a glance
The flowchart below shows the main steps in order. Each step is described in its own section.
If you are new to the machine itself, our article on the vial filling machine working principle explains how the conveyor, pumps, nozzles and stopper bowl work. This article focuses on how the operator runs them.
Preparation and line clearance
Line clearance is the check that the filling area and machine are free of everything from the previous batch before the new batch starts. It prevents mix-ups between products, vials, stoppers and documents.
A typical line clearance covers:
- No vials, stoppers, product, labels or documents from the previous batch remain on or around the machine, including under guards and in reject trays.
- The machine and area have been cleaned according to the cleaning procedure, and the cleaning status is recorded.
- The correct batch documents, components and materials are available and identified.
- Instruments used for checks, such as the balance, are within their calibration date.
Clearance is normally checked by one person and verified by a second, for example a supervisor or quality representative, before production starts. The details are defined in your site SOP.
Preparing components
Vials arrive washed and sterilised, either directly from the washer and depyrogenation tunnel or in trays. Rubber stoppers are prepared according to their own procedure, which may include washing and sterilisation. Product-contact parts of the filler, such as pumps, tubing and nozzles, are cleaned and, where required, sterilised before assembly.
Change parts and nozzle set-up
The machine must be set for the vial size, stopper size and fill volume of the batch.
- Fit the change parts. Install the star wheels, infeed worm and guides marked for the vial size, and the bowl track and chute parts for the stopper size.
- Set heights. Adjust the nozzle carriage so that the nozzles enter the neck without touching it, and set the stoppering head or pressing roller height for the vial.
- Fit and align the nozzles. Use nozzles of the correct size for the vial neck and fill volume, and check that each is centred over its vial position.
- Connect the dosing system. Assemble the pumps, tubing and nozzles, and connect the product supply.
- Run empty vials. Run a few empty vials slowly through the machine to check smooth transfer, centring and that no vial tips or jams.
On machines with a PLC and operator panel, select or enter the product recipe (fill volume, speed and related settings) at this point. Many PLC-controlled vial fillers, including several in our range, store product recipes on the HMI touchscreen; on machines without recipe storage, enter the settings manually and record them in the batch record. Our Automatic Vial Filling Machine is an example of a design where infeed, filling and stoppering run as one continuous sequence, so set-up checks cover all three.
Priming and fill weight verification
Priming
Priming fills the tubing and pumps with product and removes air. Air in the line is one of the most common causes of low or variable fills. The operator runs the pumps, collecting the liquid in a container rather than in production vials, until a steady, bubble-free flow comes from every nozzle. Primed product is handled and disposed of according to the batch instructions.
The priming routine depends on the dosing system. With piston pumps, the valves and cylinders must fill completely, and trapped air often shows as a head that delivers less than the others. With peristaltic pumps, the tubing must be correctly seated in the pump head and the flow checked for steady, bubble-free delivery. In both cases, check all connections for leaks, because a small leak on the suction side can draw air into the line during the run.
Setting the fill
Fill volume is set first approximately, using the stroke or rotation setting, and then confirmed by weighing. The usual method is:
- Tare an empty vial on a calibrated balance, or weigh a set of empty vials.
- Fill the vials on the machine, one or more per head.
- Weigh the filled vials and subtract the empty weight to get the net fill weight.
- Convert to volume using the product density, if the target is set as a volume.
- Adjust each head that is outside the target, and repeat until all heads are within the limits in your batch record.
Checking each head separately matters, because one head can be correct while another is not. Record the results before releasing the machine for production.
Stopper feeding and placement
Check that the stoppers issued match the batch documents for type and size before loading. Load the prepared stoppers into the vibratory bowl, taking care not to overfill it. Start the bowl and adjust the vibration so that stoppers climb the track steadily and reach the chute in the correct orientation.
Before production, check that:
- Stoppers move along the chute without jamming or overlapping.
- Each filled vial receives one stopper, placed squarely.
- The pressing roller or plunger seats each stopper fully, without damaging the stopper or the vial.
- The stopper-level sensor in the chute stops filling when stoppers run low.
The Vial Filling and Rubber Stoppering Machine range combines filling and stoppering on one frame, so stoppers are placed immediately after filling. The same stoppering principle is used for powder products on vial powder filling and stoppering machine models, although dosing and set-up of the powder filling part are different.
Running and in-process checks
Once set-up is approved, production starts. In-process checks confirm that the machine stays within limits throughout the batch, not just at the start.
| Check | What is checked | Frequency |
|---|---|---|
| In-process fill weight check | Net fill weight of vials from each head | At the interval set in the batch record |
| Stopper placement | Stoppers present, square and fully seated | Continuous visual check plus sampled checks |
| Vial condition | Cracks, chips, wet necks, splashes | Continuous visual check |
| Machine function | No vial no fill, sensors, alarms | At start and as defined by SOP |
| Counts | Vials filled, rejected and transferred | Recorded at defined points and at the end |
If a check is outside limits, stop the machine, find the cause and follow your deviation procedure. Vials filled since the last good check are handled as the SOP requires. Do not adjust and carry on without recording what was found and done.
Typical causes of drift during a run include air entering the product line, changes in product temperature, pump wear and changes in supply level. A higher level of automation, such as an automatic vial filler with built-in sensors, reduces manual handling but does not remove the need for checks.
Transfer to cap sealing
Stoppered vials go directly to the cap sealing machine, which crimps an aluminium seal over the stopper. The sealer is part of the same run and its own checks are recorded in the same batch.
Common problems during set-up and running
Most issues found during set-up or in-process checks have a small number of causes. The table below is a guide to where to look first.
| Symptom | Likely cause | What to check |
|---|---|---|
| One head fills low or varies | Air in the line, worn pump parts or valves | Priming, connections, pump and valve condition |
| All heads drift during the run | Change in product temperature or supply level | Supply tank level, product temperature, tubing wear |
| Drips or wet vial necks | Nozzle alignment, suck-back setting, nozzle damage | Nozzle centring and condition, end-of-dose setting |
| Foaming or splashing | Filling too fast or nozzle too high | Nozzle dive and rise setting, filling speed |
| Missing stoppers | Bowl or chute feeding problem | Bowl vibration, chute alignment, stopper level |
| Tilted or raised stoppers | Pressing height, wet neck, vial not centred | Pressing roller setting, star wheel and guide fit |
Record each problem and action in the batch record, even if it was corrected quickly. Repeated small problems often point to a part that needs maintenance.
End of batch and cleaning
At the end of the batch:
- Stop filling and clear the machine. Remove all remaining vials and stoppers from the conveyor, star wheels, bowl and chute.
- Reconcile. Compare the number of vials and stoppers issued, filled, rejected and returned, and record any difference.
- Drain and flush. Empty the product line and flush it as described in the cleaning procedure.
- Dismantle contact parts. Remove pumps, tubing and nozzles for cleaning. Replace single-use tubing where used.
- Clean the machine. Clean the table top, guides, star wheels and stopper parts, and record the cleaning status.
Isolate the machine before cleaning or reaching into moving parts, and follow the manual and site safety rules.
Records to maintain
Good records show that the batch was filled as intended. Typical vial filling records include:
- Line clearance before and after the batch, with signatures.
- Machine, change parts and recipe used.
- Balance identification and calibration status.
- Set-up fill weights per head and any adjustments.
- In-process fill weight checks and stopper checks, with times.
- Deviations, stoppages and actions taken.
- Counts and reconciliation of vials and stoppers.
- Cleaning records and equipment status labels.
Your vial filling SOP should define the format, frequency and limits; this list is a starting point for checking that nothing is missing.
The process within the complete line
The filler is one step in a line that runs from washing and depyrogenation, through filling and stoppering, to cap sealing, inspection and labelling. A well-balanced line makes the vial filling and stoppering process easier to control, because vials flow steadily without long stops or manual transfers. Our pharmaceutical filling lines show how these machines are combined.
Conclusion
A reliable vial filling and stoppering process follows a fixed sequence: clear the line, fit and set the change parts and nozzles, prime the system, verify fill weights head by head, set up stopper feeding, run with regular in-process checks, and finish with reconciliation, cleaning and complete records. Each step protects the next, and skipping one usually shows up as a problem later in the batch.
If you are setting up a new vial line or reviewing an existing one, our team can help you match the machine and its set-up features to your product. Send us an enquiry about a vial filling and stoppering machine with your vial sizes, fill volumes and output.
 Summarize this article with: